Morphing  | Layers | ||
|---|---|---|---|
Original | Original | Original | Original |
Original | Original | Original | Original |
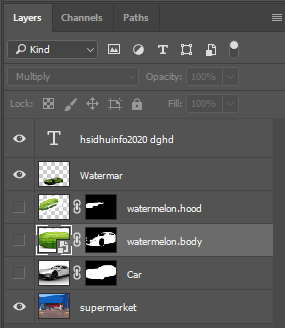
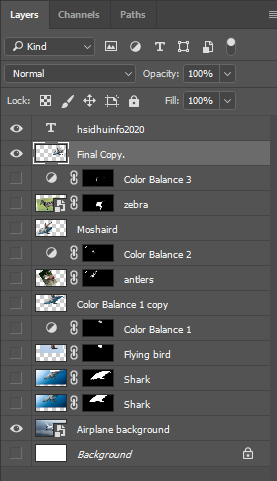
Steps
1. I selected a couple animals and fruits to create a morph. 2. Open the animals-mask it out Use opacity on the layers to get the same size of the items. Try to match body parts. 3. Choose Filter, Liquify when on the skin layer. Make sure to checkbox Show Backdrop. I liquified the skins i wanted on the animal parts(colourfuk pebbles, a durian fruit and a peacock) Make sure to checkbox Show Backdrop. Then use: drop-down to the layer you want. I adjusted the opacity to see both around 50%. Parts that stick out too much are removed later. 4. Then CTRL click the Main MASK then paint with black on the Secondary MASK. After that I chose SHIIFT-CTRL-I then painted with white around the layers to remove the extra parts. On the Tiger layer I chose the blending option 'multiply' Then I added a new Adjustment Layer Brightness/contrast I got the eraser tool and took off the skin on parts that shouldn't be changed. 5.Then I selected all my layers and duplicated them then merged them so I can add the background in and only have to show 1 layer rather than a bunch. | |||

Friday, February 28, 2020
Tuesday, February 25, 2020


Thursday, February 20, 2020


Wednesday, February 19, 2020


Thursday, February 13, 2020


Wednesday, February 12, 2020


Monday, February 10, 2020


Wednesday, February 5, 2020
Subscribe to:
Comments (Atom)